
This guide explains how to connect your Stripe account and add bank details using your organization dashboard. Below are the simple steps to get you fully onboarded.
Step 1: Verify Your Organization Email Address
Your Stripe account will be linked to this email address.
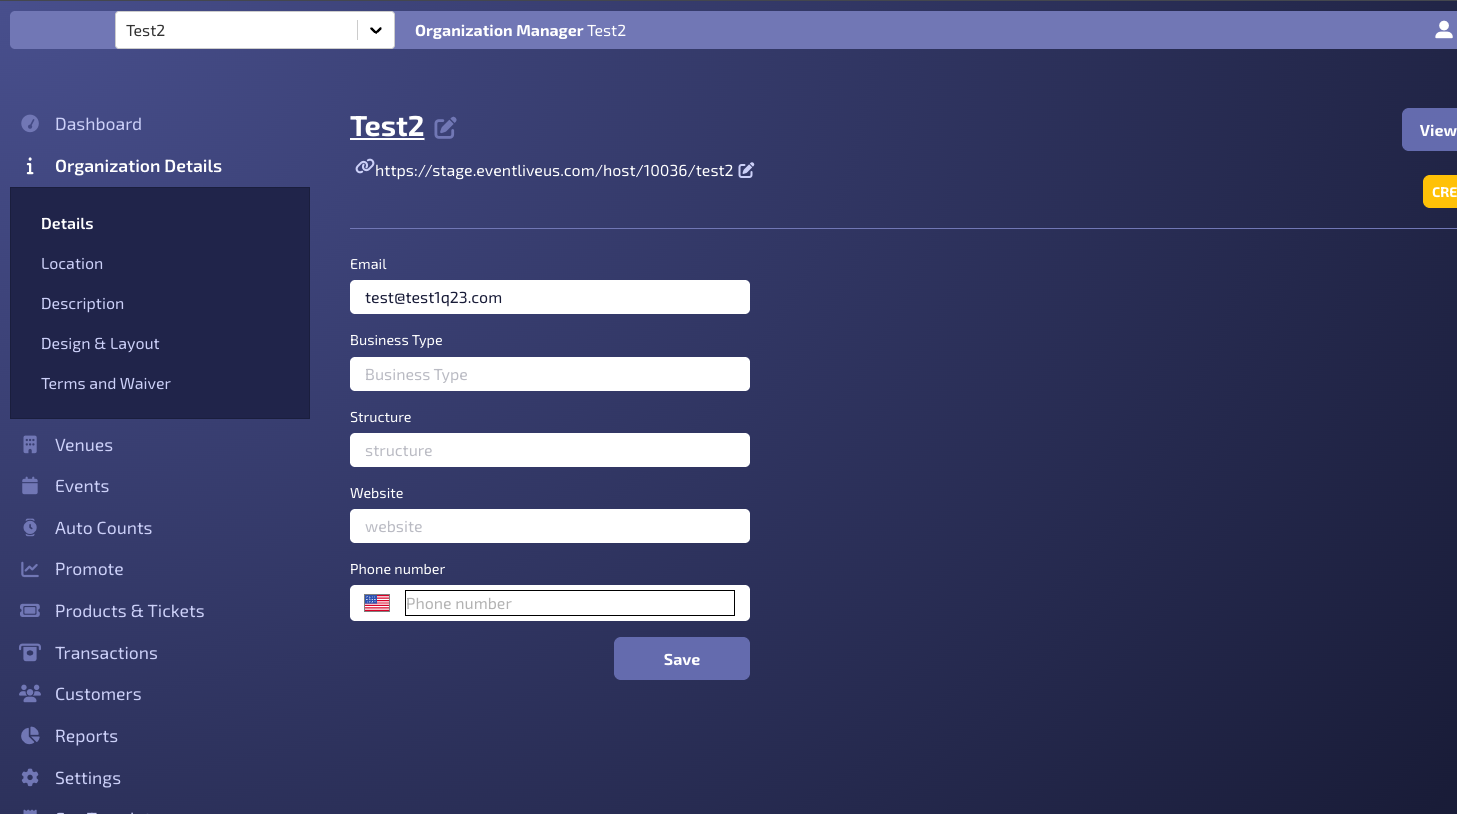
1. Go to Manage Organization Dashboard
2. Navigate to the Org Details tab
3. Review the Email field and ensure it is correct
Note: This email address will be used to associate and verify your Stripe account, so update this if needed before proceeding to Step 2.
Step 2: Merchant Account Setup
If a merchant account has already been set up by the Event Live team, you will see the Step 3 screen and can proceed directly.
If it hasn’t been set up yet, simply contact us and we’ll create the account for you. Until the merchant account is created, you’ll see an empty screen in this section and won't be able to proceed.
Step 3: Launch and Complete Stripe Verification
Once the merchant account is created, you will see sections for Account Details and Verification Status.
In the Merchant Account Details section, you will see your connected Stripe account name and Account ID. To begin the onboarding process, use one of the following methods:
Primary: Click the Complete Stripe Verification button to be redirected immediately.
Shareable Link: Click the Copy Icon next to the Stripe Account ID. This copies the onboarding URL to your clipboard—perfect for sending to a business owner or finance manager to complete.

Stripe Onboarding Process (What to Expect)
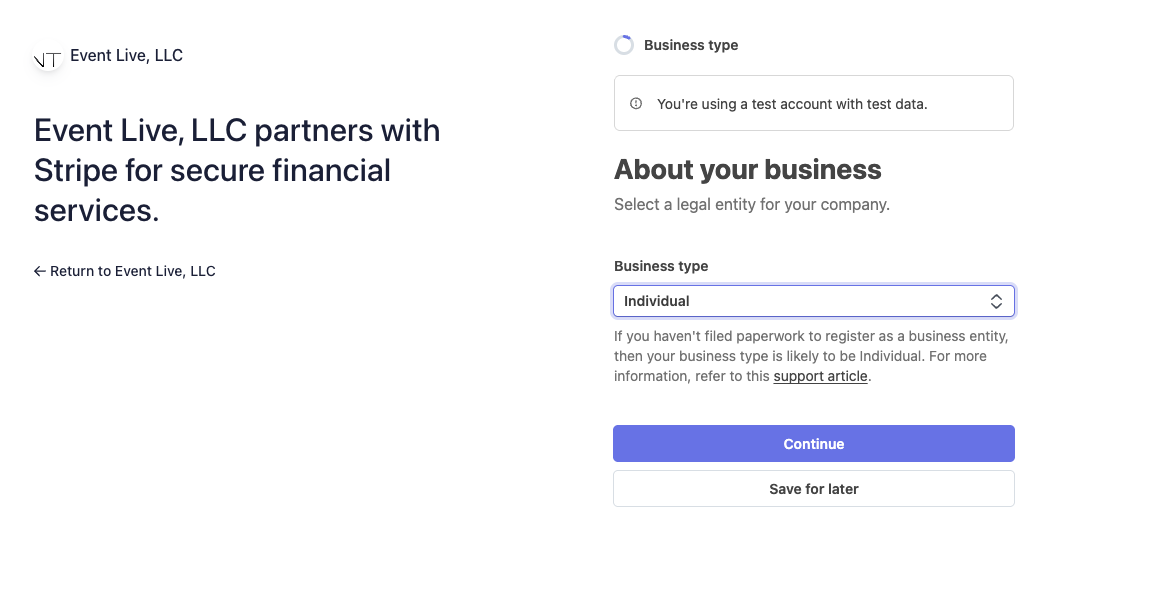
You will be redirected to Stripe’s secure onboarding flow.
Crucial: When Stripe asks for an email address, use the same business email address verified in Step 1 to ensure your accounts sync correctly.
Business Info: Entity type and tax details.
Payout Details: Bank account or debit card for receiving funds.
Identity Verification: Stripe may request a photo ID of the business representative.
The onboarding process typically takes only a few minutes.
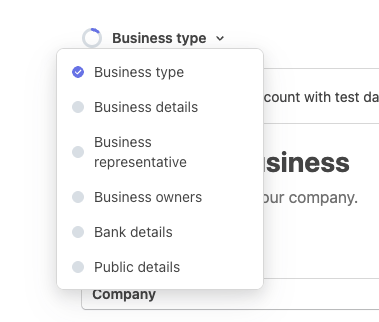
To have "Verified" status, you must complete all sections in the Stripe flow: Business type, Business details, Business representative, Business owners, Bank details, and Public details.
Step 4: Verification Completion and Bank Management
Once Stripe onboarding is completed successfully:
Status Update: The Verification Status should show as Verified.
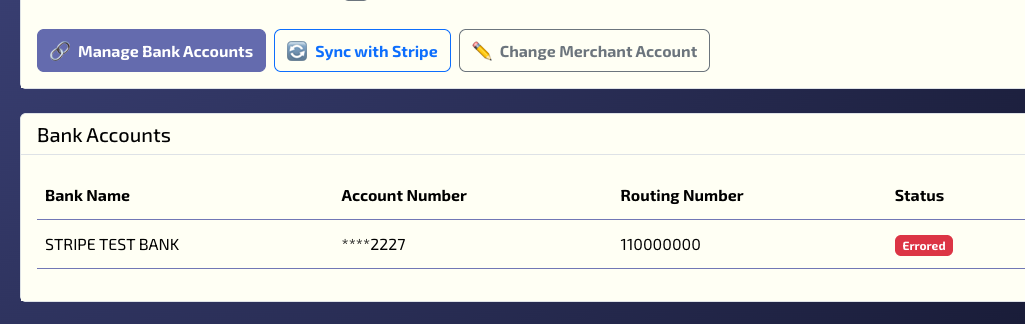
Managing Funds: The "Complete Stripe Verification" button will be replaced by Manage Bank Accounts.The Manage Bank Accounts option allows you to update or change bank details directly in Stripe.
Bank Accounts section: This will now display a summary of your linked payout methods.
If you have any questions or encounter issues during onboarding, please contact our support team.